
Microsoft SentinelにEntra IDのサインインログや監査ログなどのデータをを取り込むことで、組織のセキュリティ態勢を強化し、リアルタイムでの脅威検出と分析が可能になります。
この記事では、Microsoft Entra IDのデータコネクタを有効にし、ログをMicrosoft Sentinelに取り込む手順を確認します。
Microsoft Sentinelの初期セットアップ手順は、下記の記事を参考にしてください。下記の記事の環境を前提とします。
>> 参考記事 :Microsoft Sentinel 初期セットアップ手順
データコネクタの接続(コンテンツハブ)
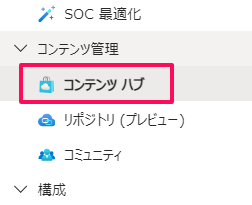
Microsoft Sentinel用のEntra IDデータコネクタをインストールするには、Azure portalからMicrosoft Sentinelワークスペースにアクセスし、左メニューにある「コンテンツハブ」を開きます。
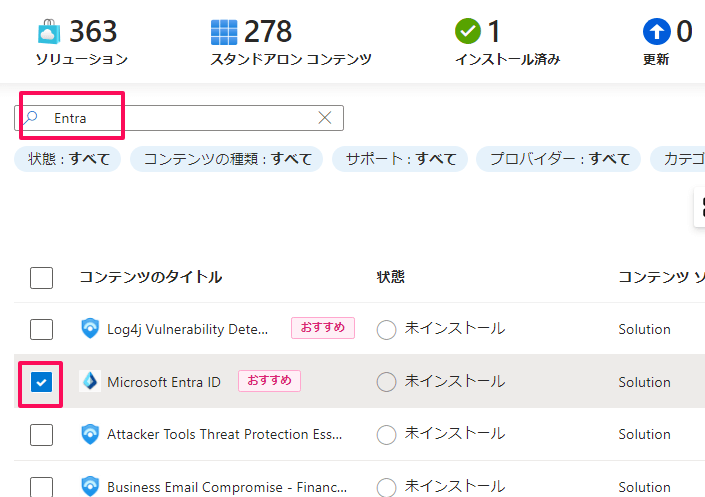
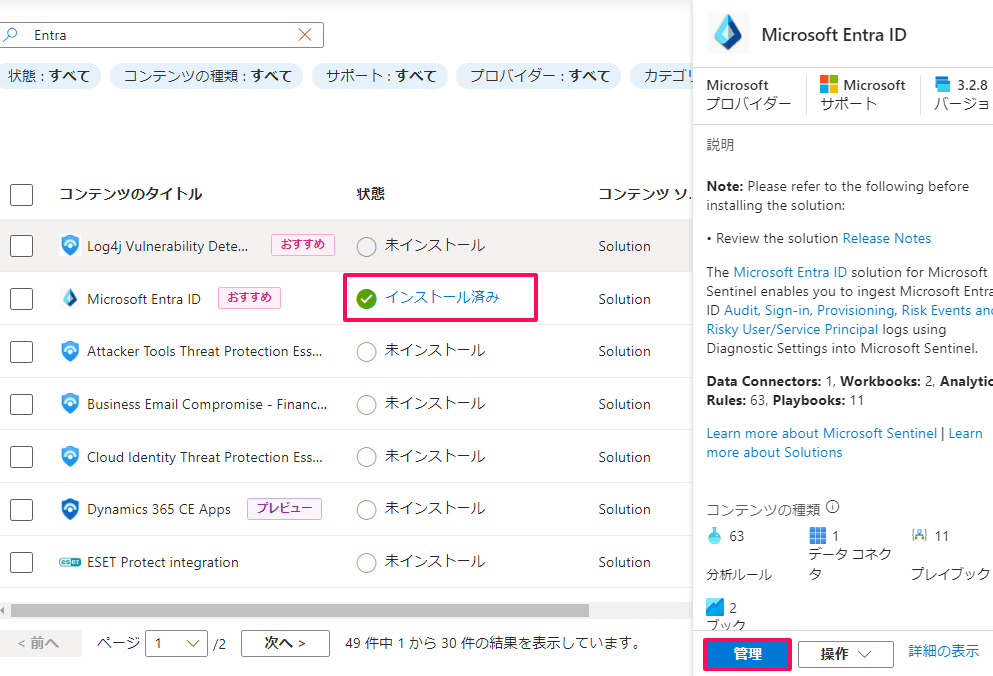
検索に「Entra」と入力し、「Microsoft Entra ID」 を選択します。
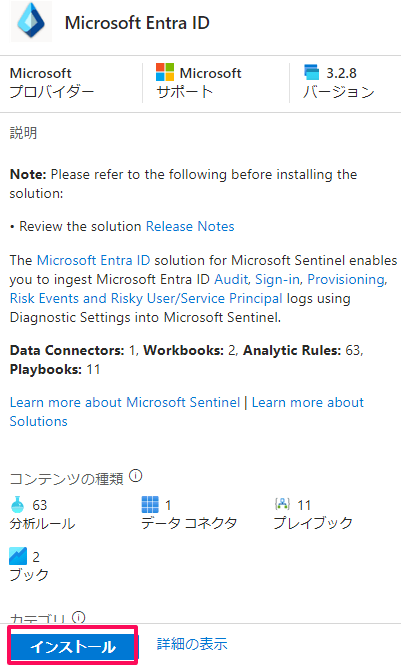
右画面に「Microsoft Entra ID」の概要が表示されます。「インストール」をクリックします。インストールが開始されます。
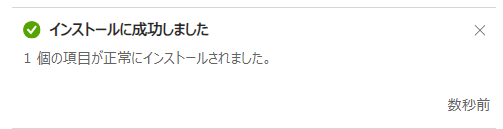
しばらくすると、下記のとおり、インストールが完了します。
下記のとおり、Microsodft Entra ID が「インストール済み」であることを確認します。「管理」をクリックします。
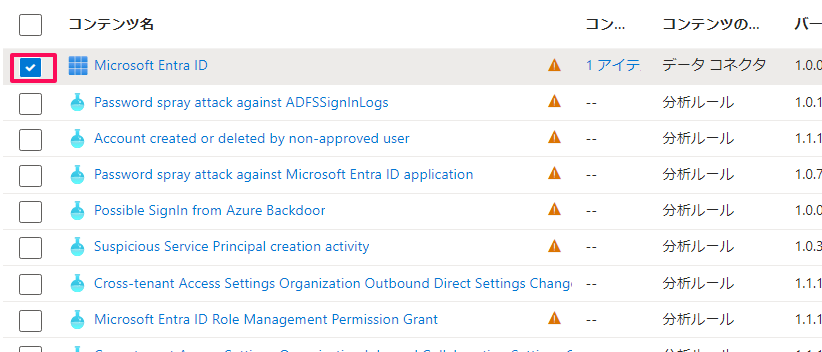
データコネクタであるMicrosoft Entra ID を選択します。
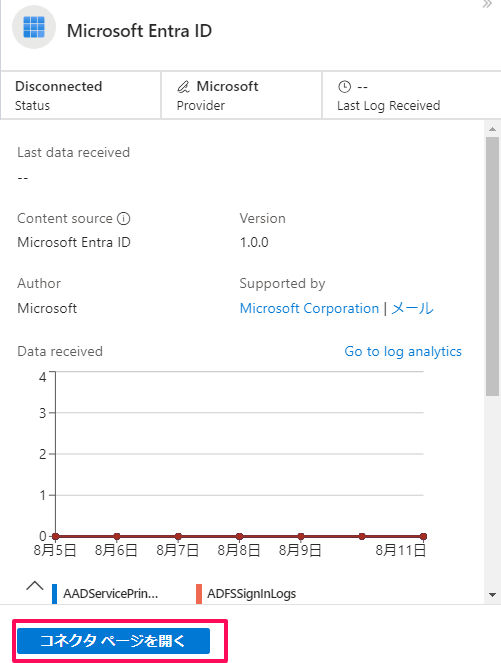
右画面に「Microsoft Entra ID」の概要が表示されます。「コネクタベージを開く」をクリックします。
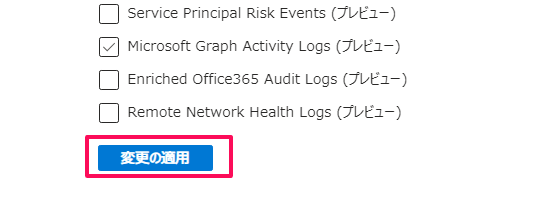
取得するログの種別を選択します。今回は、サインインログ(Sign-In Logs)と監査ログを選択します。注意されているように、サインインログ(Sign-In Logs)を出力する際は、Entra IDのP1もしくはP2ライセンスが必要です。
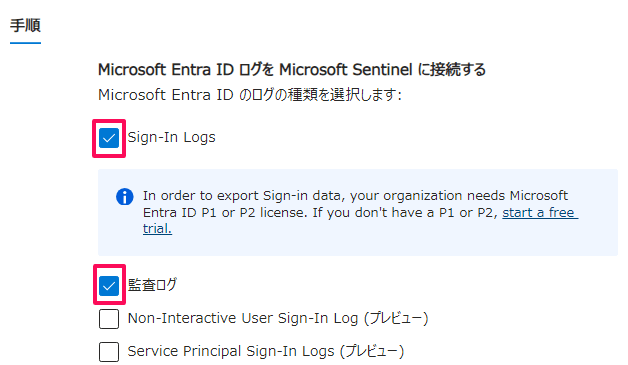
画面下の「変更の適用」をクリックします。
Entra IDログ取り込み確認
私の環境では、約2時間程度を経過すると、ログの取り込みが開始しました。
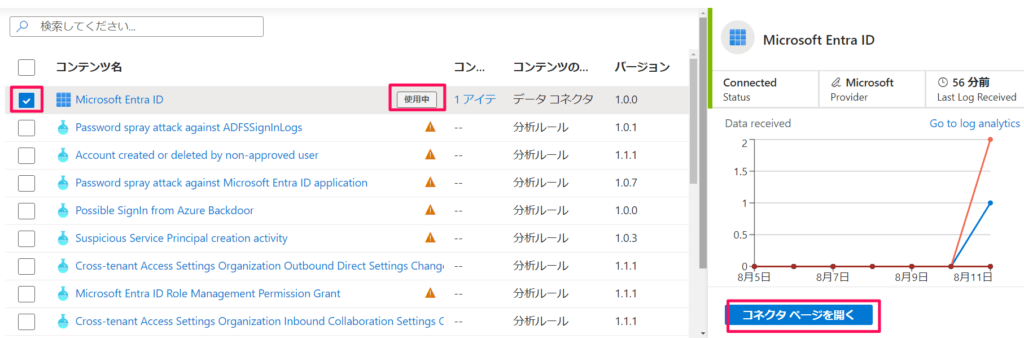
「コンテンツハブ」から「Microsoft Entra ID」に選択し、右画面の「管理」をクリックします。

「Microsoft Entra ID」のアイコンが「使用中」となっています。チェックを入れると、右画面に概要が出力され、ログ取得できていることが確認できます。「コネクタページを開く」をクリックします。
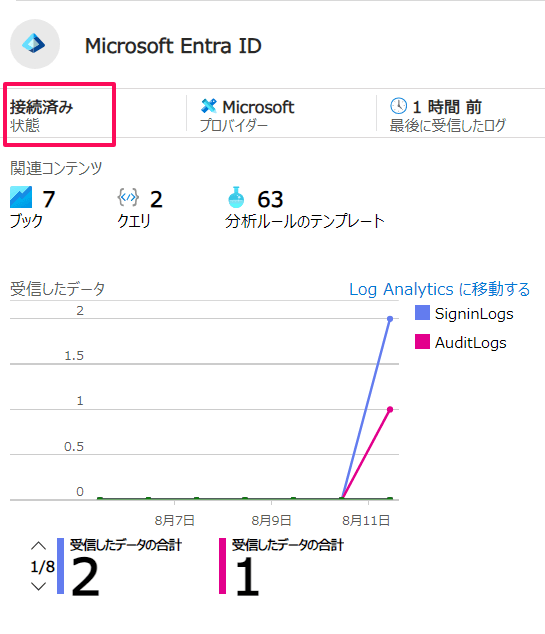
状態が「接続済み」で、ログの取り込みできていることが確認できます。
Entra ID ログ出力確認
実際に、Sentinelに取り込まれたEntra IDのサインインログ、監査ログの中身を出力します。
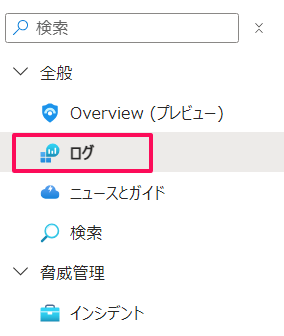
メニューの「ログ」をクリックすると、ログを出力するクエリを発行することができます。
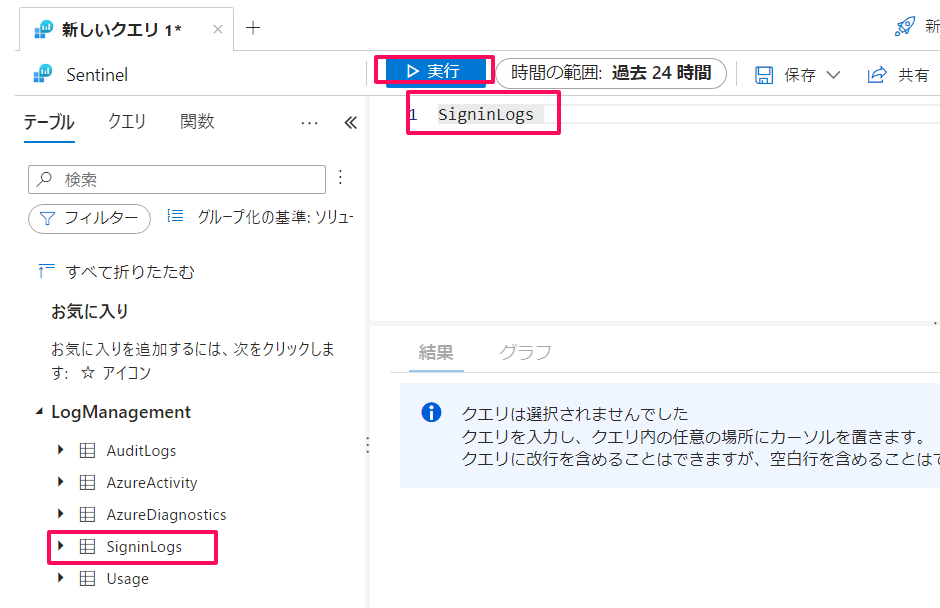
サインインログの確認
「LogManagement」>>「SigninLogs」というテーブルが表記されているので、ダブルクリックします。すると、クエリが自動的に入力されます。その後、「実行」をクリックします。
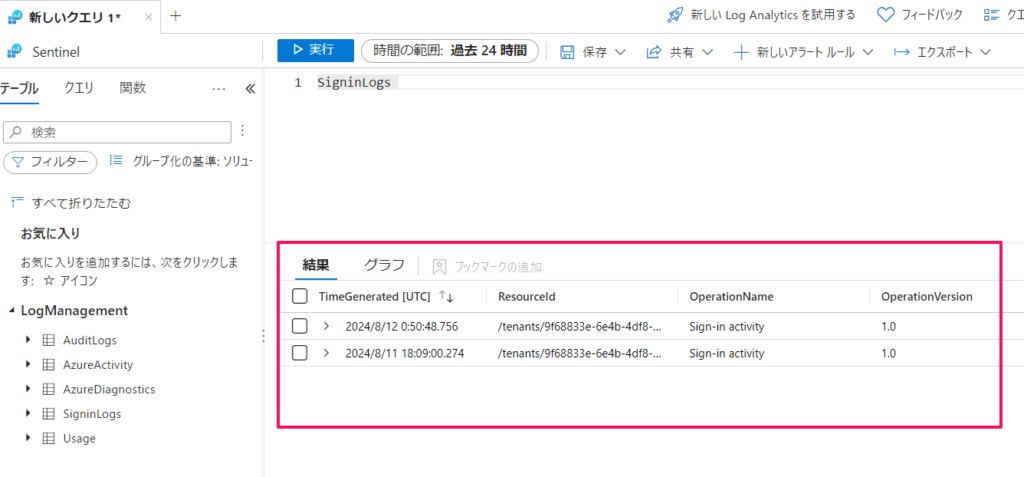
「結果」タブに、サインインログが出力されます。
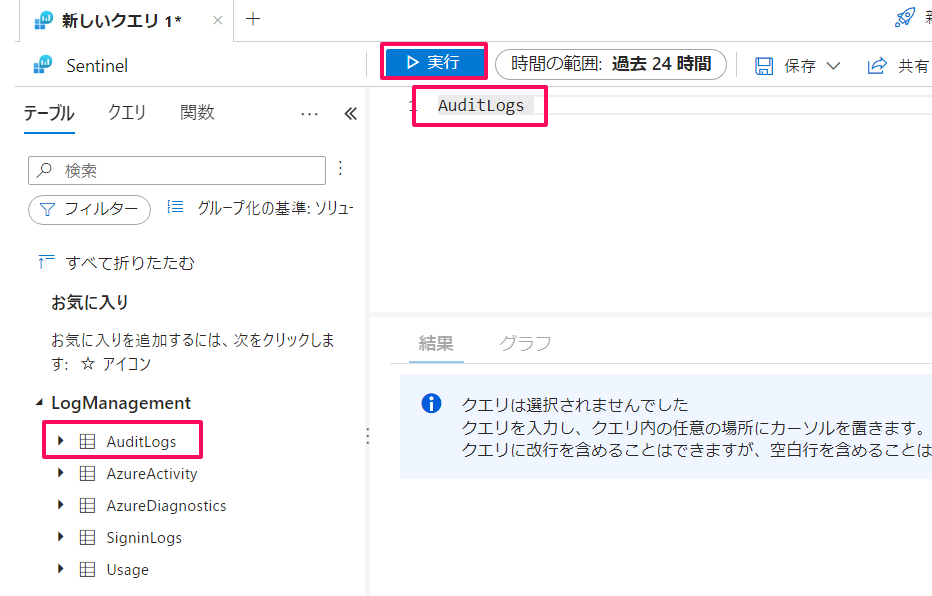
監査ログの確認
「LogManagement」>>「AuditLogs」というテーブルが表記されているので、ダブルクリックします。すると、クエリが自動的に入力されます。その後、「実行」をクリックします。
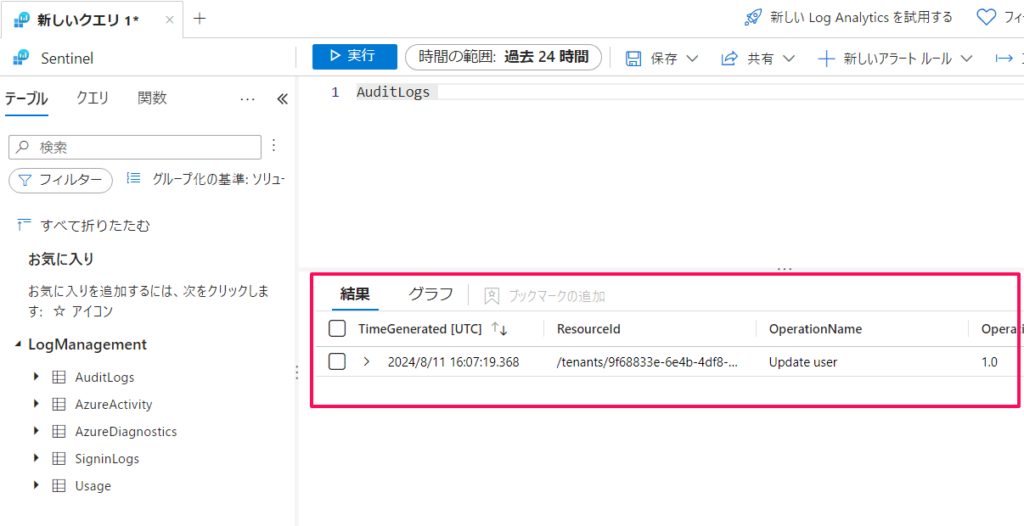
「結果」タブに、監査ログが出力されます。
コメント