
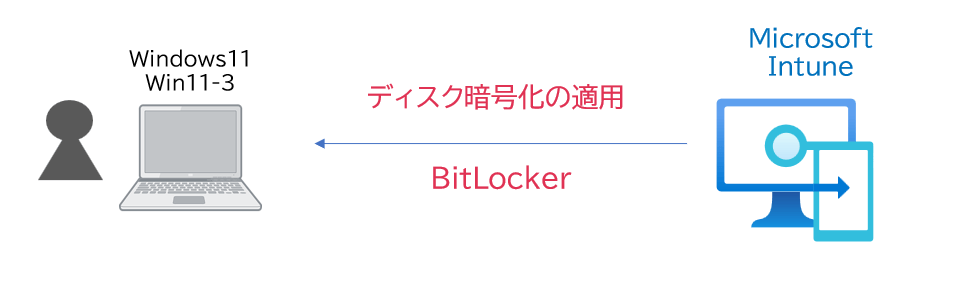
Windowsデバイスのセキュリティを強化する重要な方法の一つがディスク暗号化です。特にBitLockerを利用すると、デバイスが紛失したり盗まれたりした際の情報漏洩リスクを大幅に低減できます。
本記事では、Microsoft Intuneを活用してWindowsデバイスでBitLockerを設定し、その動作を確認する具体的な手順を解説します。
概要
BitLockerは、Windowsに組み込まれたディスク暗号化技術で、システムドライブやデータドライブを暗号化することで、不正アクセスを防ぎます。これをMicrosoft Intuneを利用して集中管理することで、エンドポイントセキュリティの強化が期待できます。
その主な特徴は以下の通りです
- 暗号化キーの保護:TPM(トラステッド プラットフォーム モジュール)を使用し、高度なセキュリティを実現。
- データ復元の備え:回復キーによる復旧オプションを提供。
- 集中管理:Intuneやグループポリシーを活用して一元管理可能。
ディスクの暗号化 設定
Intuneでは、構成プロファイルを用いた設定もできますが、今回は、「エンドポイントセキュリティ」の「ディスクの暗号化」プロファイルを用いた手順を確認します。
「Microsoft Intune 管理センター(https://intune.microsoft.com/)」より、「エンドポイント セキュリティ」をクリックします。

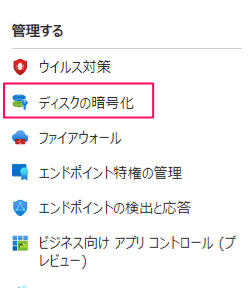
「管理する」>>「ディスク暗号化」をクリックします。
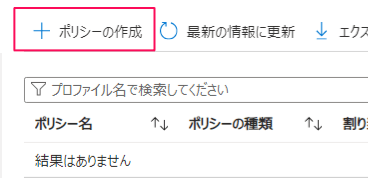
「ポリシーの作成」をクリックします。
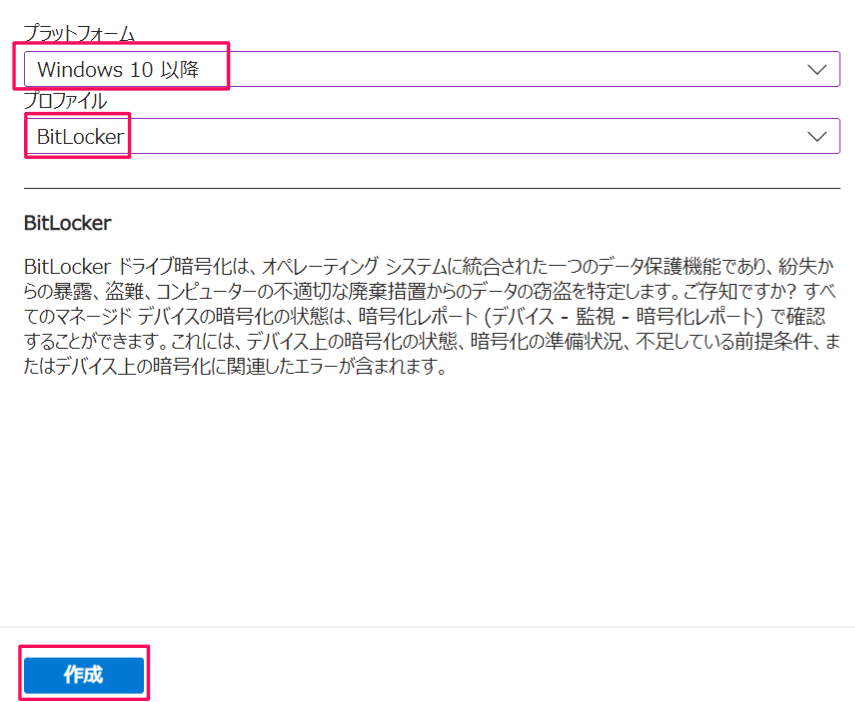
プラットフォームに「Windows10以降」、プロファイルに「BitLocker」を選択し、「作成」をクリックします。
任意の名前(今回は「ディスク暗号化」)を設定し、「次へ」をクリックします。

次の「構成設定」では、設定項目が大きく、「BitLocker」と「管理用テンプレート」に分かれます。
BitLockerの設定
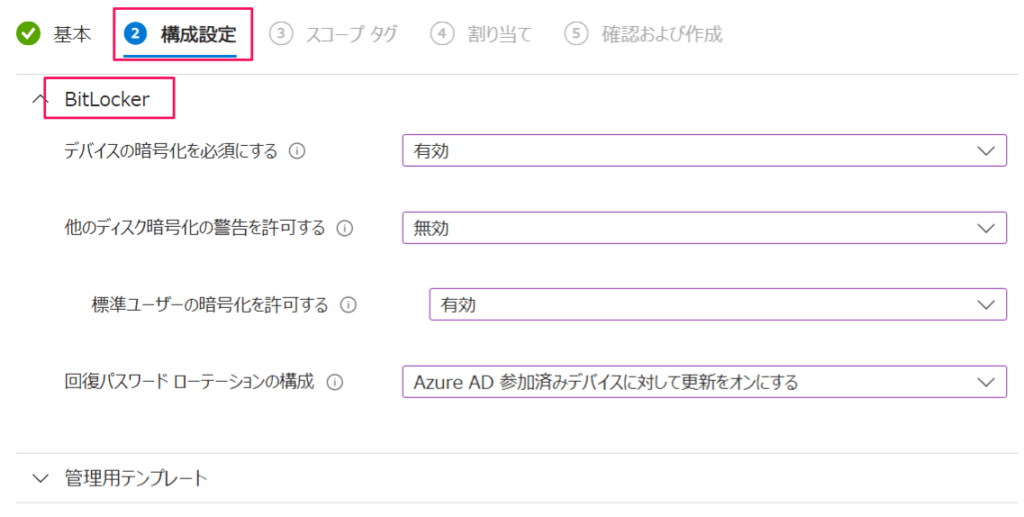
- ディスクの暗号化を必須にする:BitLockerを有効にしますので、「有効」にします。
- 他のディスク暗号化の警告を許可する:「無効」にすることで、サイレントに暗号化が行われます。また、回復キーがMicrosoft Entra に保存されます。
- 標準ユーザの暗号化を許可する:ログインしているユーザーが管理者でない場合でも、BitLockerを有効にすることができます。「有効」に設定します。
- 回復パスワードローテーションの構成:パスワード使用後のローテーションの有無を設定します。今回は、Entra ID参加しているデバイスに対して、BitLockerを有効にするため、「Azure AD参加済みデバイスに対して更新をオンにする」を選択します。
管理用テンプレート
「Windows コンポーネント」>>「BitLockerドライブ暗号化」では、暗号化方式を設定します。
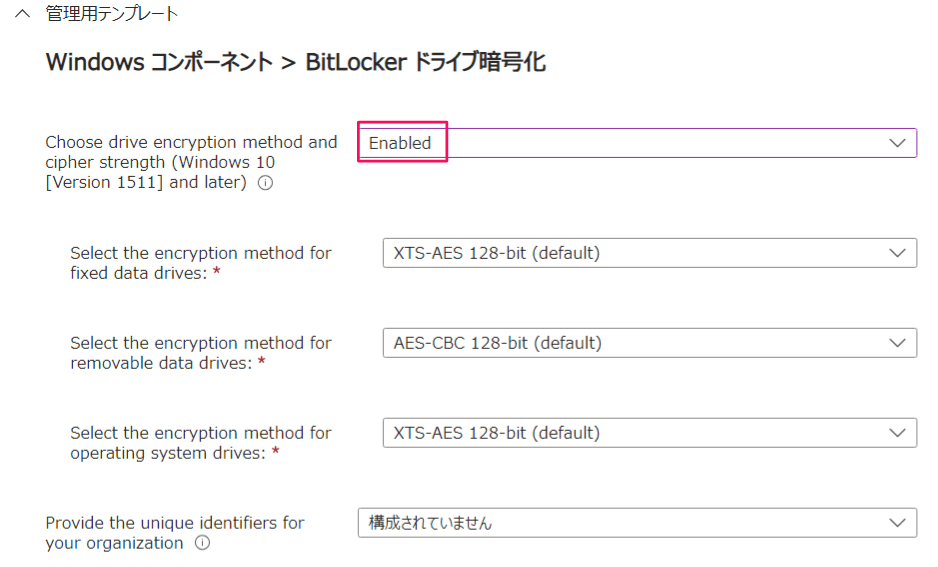
- Choose drive encryption method and cipher strength (Windows 10 [ Version 1511] and later):暗号化方法の構成の選択の有無を指定します。ここでは、Enabled(有効)にしてみます。すると、3項目に対して、暗号化方式を指定できます。
- Select the encryption method for fixed data drives:固定データドライブの暗号化に対する暗号化方式を指定します。ここでは、デフォルトとします。
- Select the encryption method for removable data drives:リムーバブルデータドライブの暗号化に対する暗号化方式を指定します。ここでは、デフォルトとします。
- Select the encryption method for operating system drives:OSドライブの暗号化に対する暗号化方式を指定します。ここでは、デフォルトとします。
次にオペレーティングシステムドライブの暗号化について、設定します。
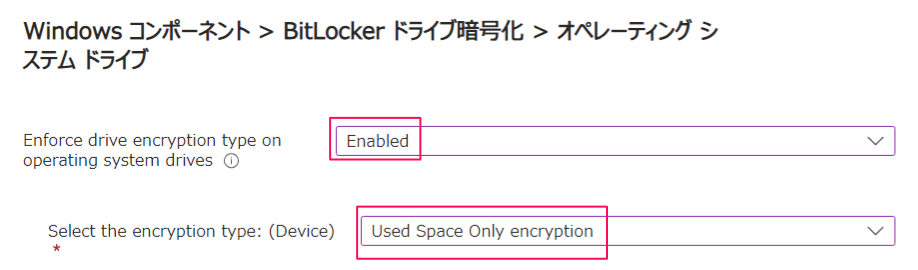
- Enforce drive encryption type on operating system drive:BitLockerの暗号化を強制したいので、Enabled(有効)にします。
- Select the encryption type:Used Space Only encryption(使用中のスペースのみ暗号化)を選択します。
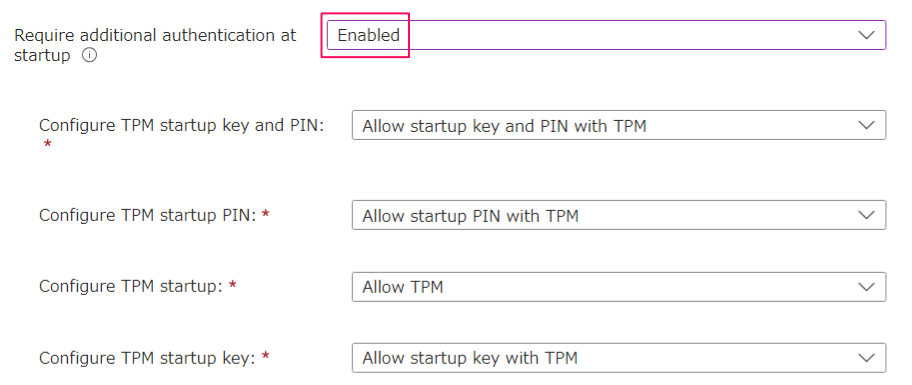
「起動時の追加認証(Require additional authentication at startup)」をEnabled(有効)に設定します。
その他、「固定データドライブ」および「リムーバブル データ ドライブ」の設定もありますが、今回は構成せず、「次へ」をクリックします。
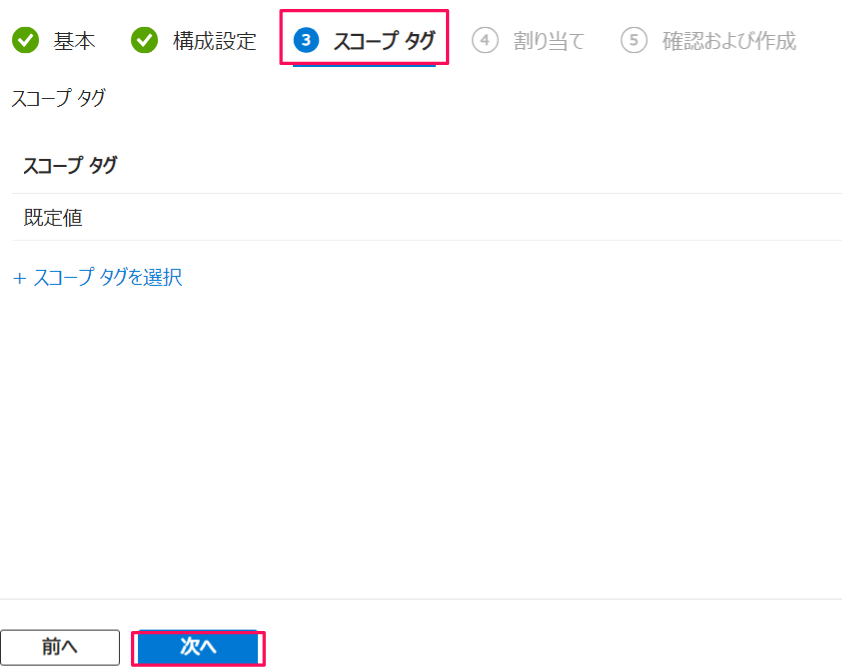
「スコープタグ」は何も設定せず、「次へ」をクリックします。
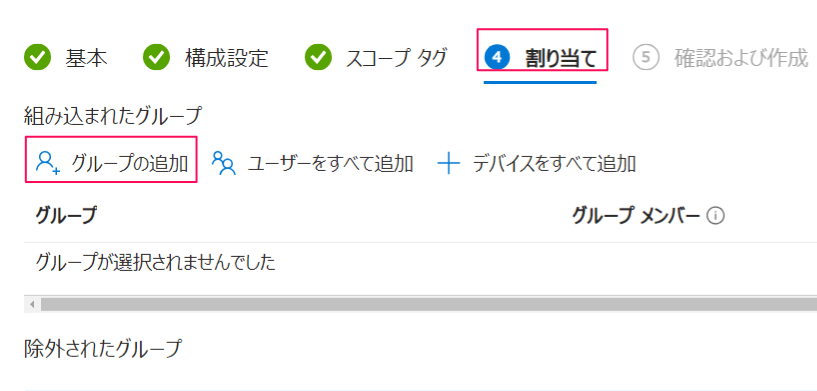
「割り当て」タブで、対象となるグループを選択します。予め「セキュリティ適用グループ」という名前のグループを作成し、デバイス「Win11-3」がメンバとして登録されています。
「グループの追加」をクリックします。
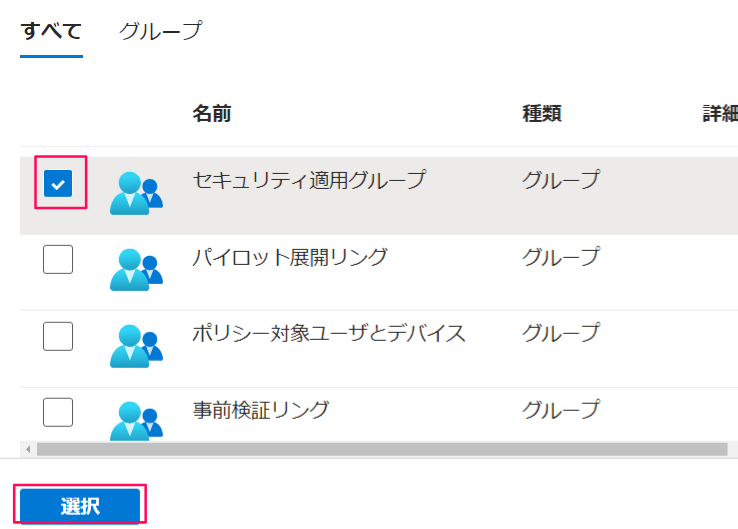
「セキュリティ適用グループ」を指定し、「選択」をクリックします。
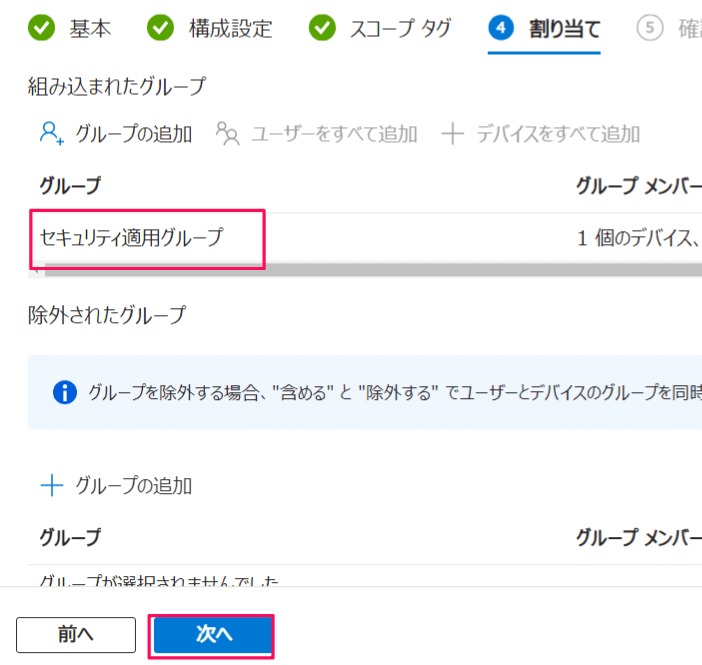
グループが登録されたことを確認し、「次へ」をクリックします。
「確認と作成」タブで、設定を確認し、「作成」をクリックします。
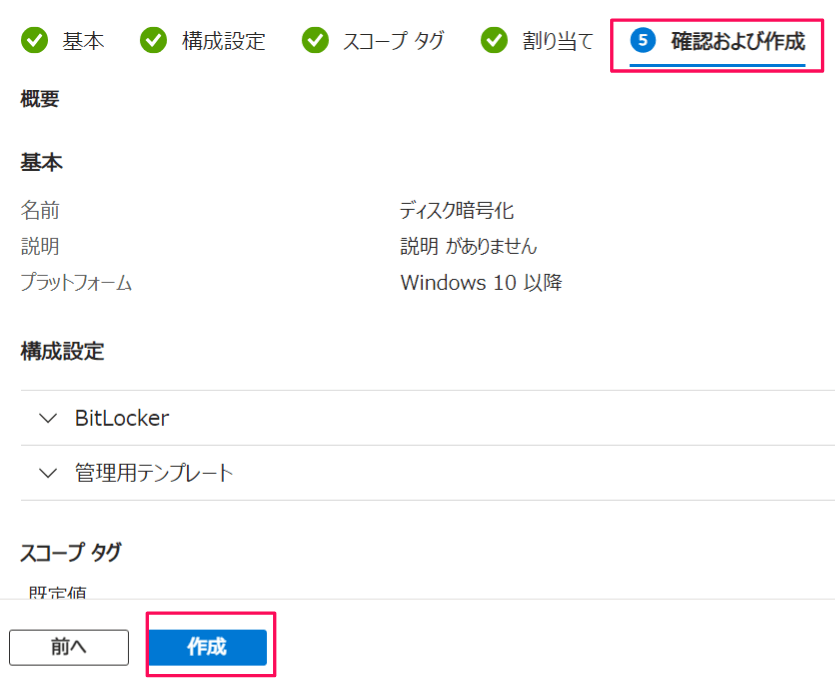
下記のとおり、登録されます。

動作確認
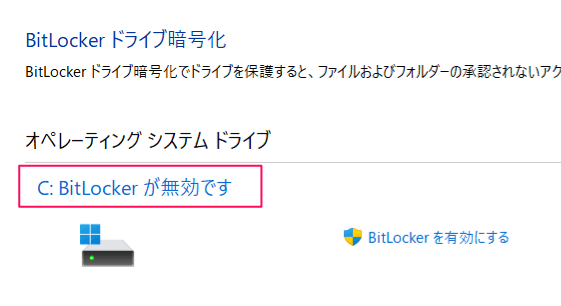
デバイス「Win11-3」には、まだ、BitLockerは有効ではありません。
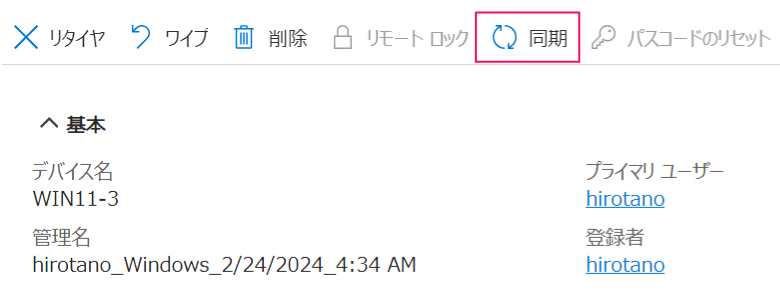
早期のインストールが実行されるよう、デバイスの同期を実行します。デバイス「Win11-3」の詳細画面から「同期」をクリックします。
「はい」をクリックします。

BitLockerの進捗確認
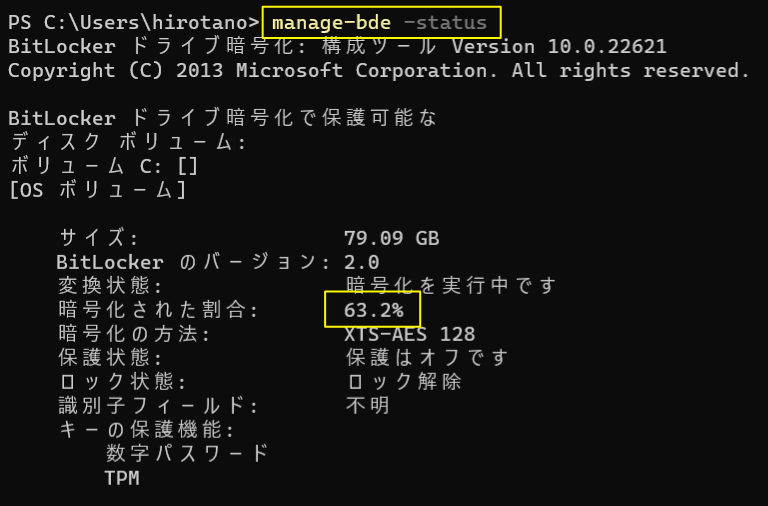
しばらくした後、BitLockerの暗号化の進捗をコマンド(manage-bde -status)で確認します。
すると、暗号化が実行中です。
しばらくすると、暗号化が完了しました。

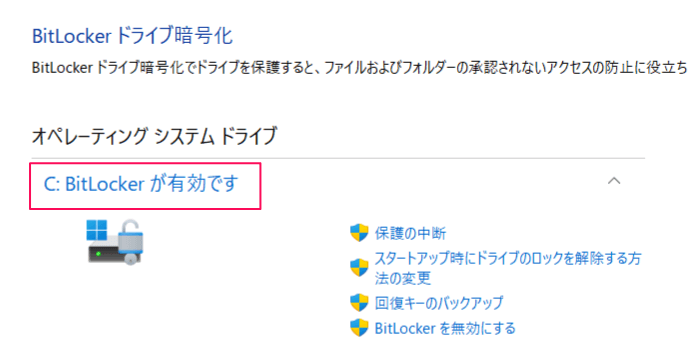
「設定」>>「プライバシーとセキュリティ」>>「Windowsセキュリティ」>>「デバイスのセキュリティ」>>「BitLockerドライブ暗号化を管理する」をクリックすると、BitLockerが有効であることが確認できます。
回復キーの確認
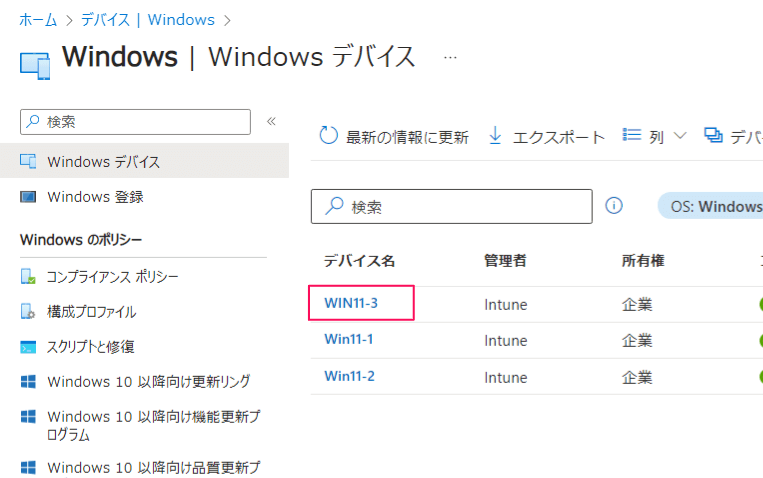
「Microsoft Intune 管理センター(https://intune.microsoft.com/)」より、「デバイス」より回復キーを確認することができます。
今回、BitLockerを有効にした「Win11-3」をクリックします。
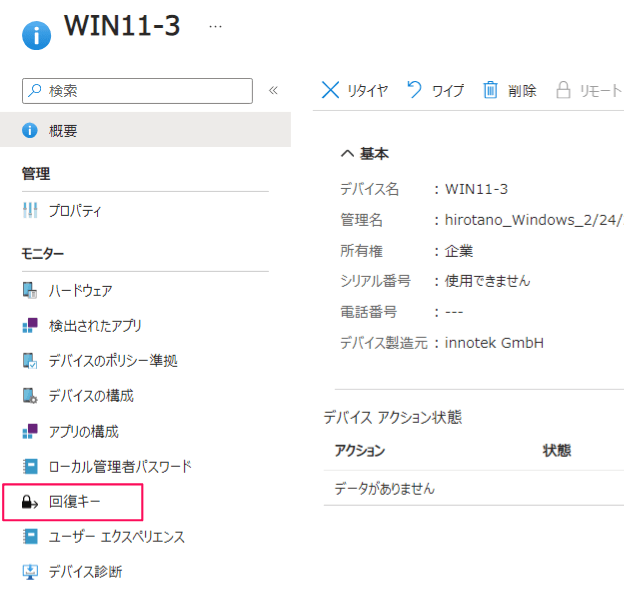
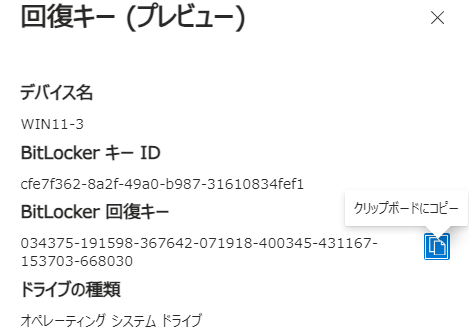
「回復キー」をクリックします。
「回復キーの表示」をクリックします。
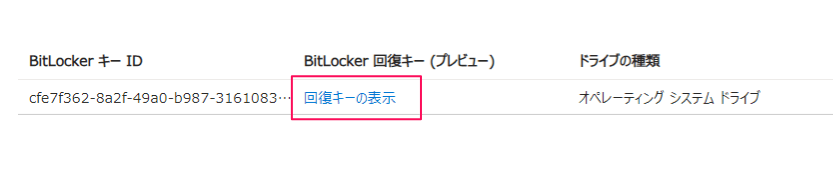
下記のように、回復キーを取得することができます。
適用状態の確認
「Microsoft Intune 管理センター(https://intune.microsoft.com/)」より、「ディスク暗号化」の適用状況を確認します。
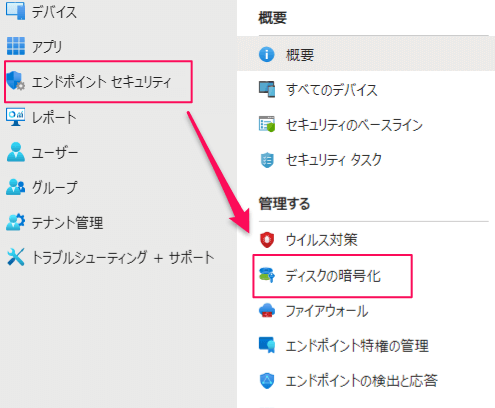
「エンドポイント セキュリティ」>>「ディスクの暗号化」 をクリックします。
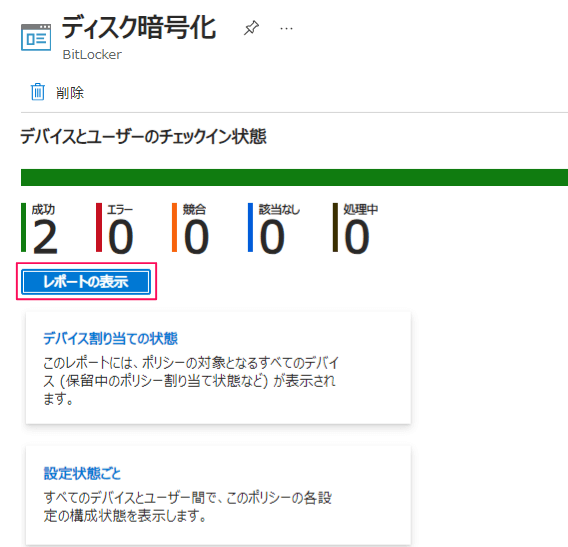
ポリシーをクリックします。

「成功」のデバイスがカウントされています。「レポートの表示」をクリックします。
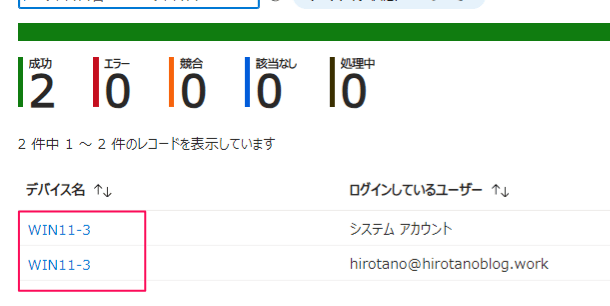
今回、適用対象の「Win11-3」が表示されています。
参考サイト
>> BitLocker CSP
コメント