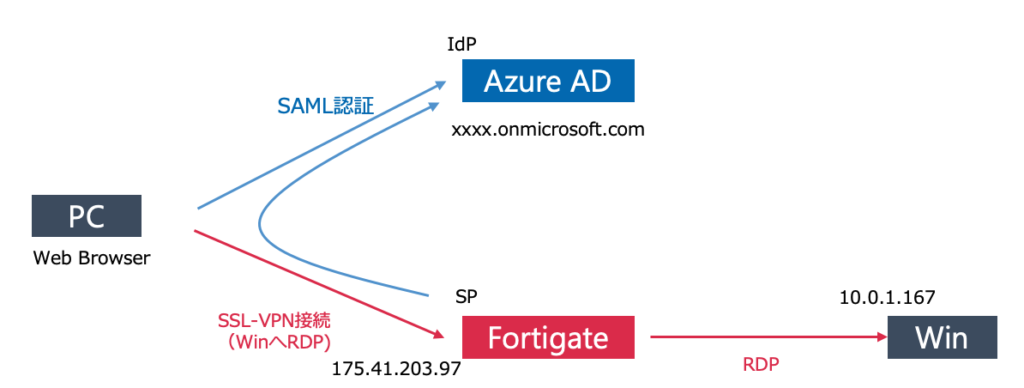
Fortigate のSSL-VPN接続のユーザ認証にSAMLを使用して接続してみます。
SAMLの概要については、以下の記事を参考にしてください。
>> 参考記事 : 【SAML】シングルサインオン(SSO)の動作概要
FortigateのSSL-VPNではSAML認証以外にもローカルユーザやLDAPサーバを使用したユーザ認証も可能です。
>> 参考記事 : SSL-VPNリモート接続(トンネルモード、ローカルユーザ)FortiOS6.2.4

IdPには、Azure Active Directory(xxxx.onmicrosoft.com xxxx:任意)を使用し、PCより、AzureAD上のユーザIDを使用して、SSL-VPN接続を確認します。
AzureADでは、ユーザとグループを作成し、Fortigateでは、AzureADのグループに所属しているユーザに対して、SSL-VPN接続を許可するポリシーを作成します。
Fortigate の管理アクセスポート番号の変更
今回の構成では、FortigateへのWeb管理アクセスするインタフェースと同じインタフェースで、SSL-VPN接続を受け付けます。両方ともポート番号が443であり、重複するため、今回は、Web管理アクセスのポート番号を443から10443に変更します。
システム >> 設定 の管理者設定で、HTTPSポートを10443にします。
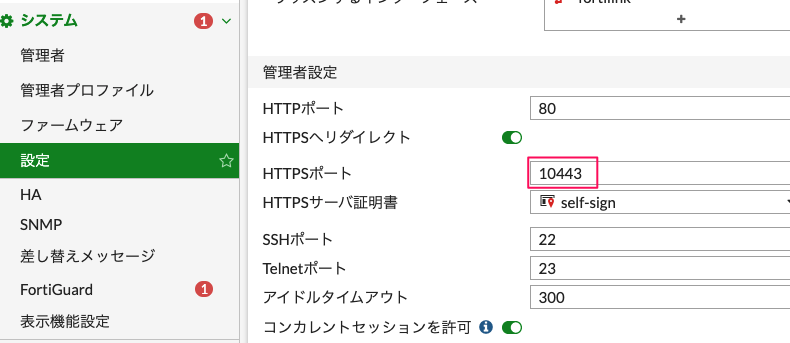
変更後、https://<インタフェースアドレス>:10443でアクセスし、ログインできることを確認します。
IdP(Azure Active Directory)の設定
ユーザ、グループ、およびエンタープライズアプリケーションを設定します。
ユーザとグループの設定
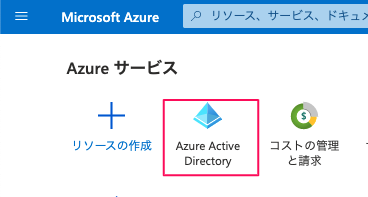
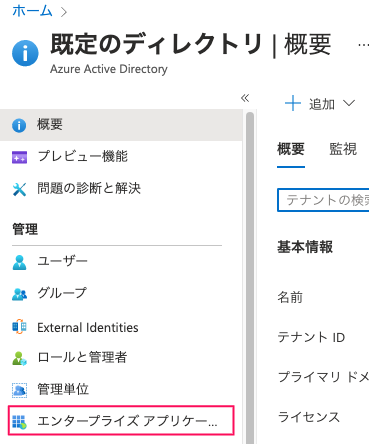
今回は、グループssl-vpn-groupを作成し、ユーザhirotanoを所属させます。AzureADのポータルへログインし、Azure Active Directory を選択します。
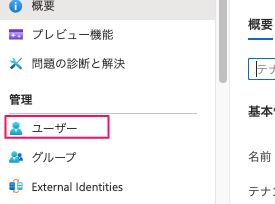
ユーザを追加します。管理からユーザをクリックします。
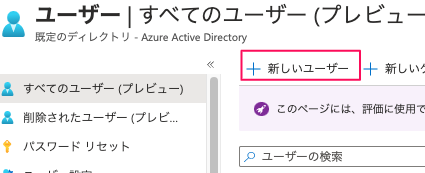
新しいユーザをクリックします。
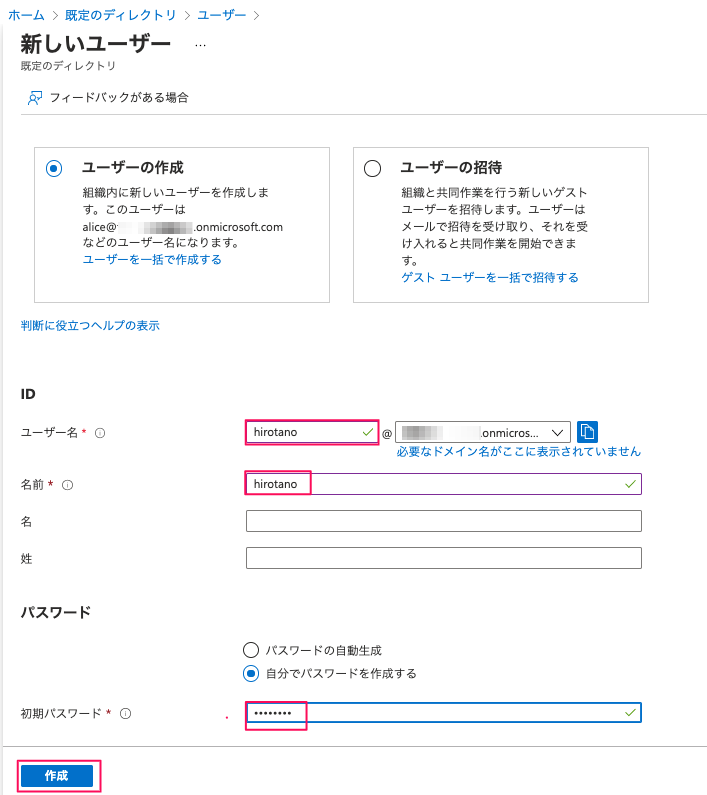
ユーザ hirotano を作成します。 ユーザ名、名前ともにhirotano と入力し、初期パスワードを設定のうえ、作成をクリックします。
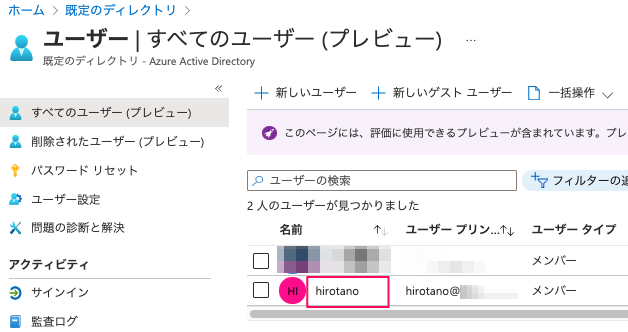
以下のように設定されます。
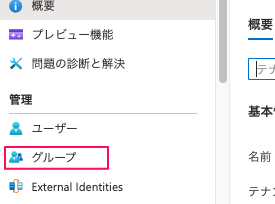
次にグループの設定をします。管理からグループを選択します。
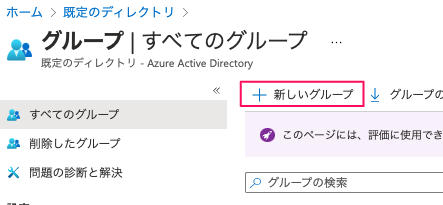
新しいグループをクリックします。
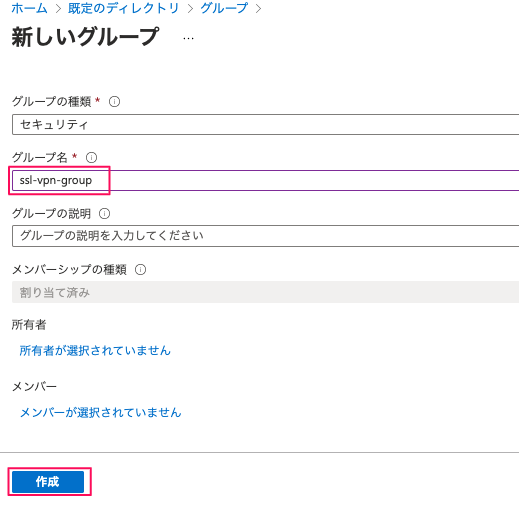
グループ名にssl-vpn-groupと入力し、作成をクリックします。
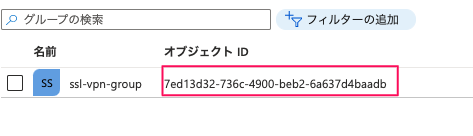
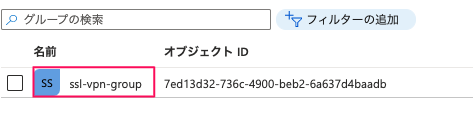
下記の通り作成されます。後ほど確認しますが、Azureの場合、SAMLトークンのグループ情報には、オブジェクト IDが返ってきますので、値(今回は、7ed13d32-736c-4900-beb2-6a637d4baadb)をコピーして、控えておきます。
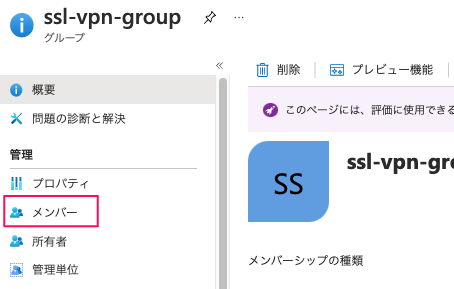
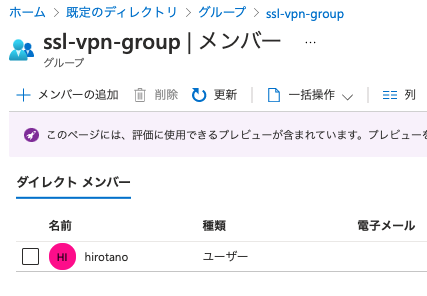
それでは、ユーザ hirotanoをssl-vpn-groupに所属させます。名前(ssl-vpn-group)をクリックします。
グループの詳細が表示されます。管理からメンバーをクリックします。
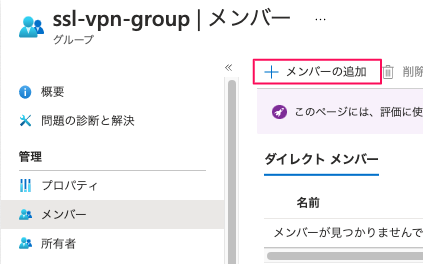
メンバーの追加 をクリックします。
一覧よりhirotanoを選択します。
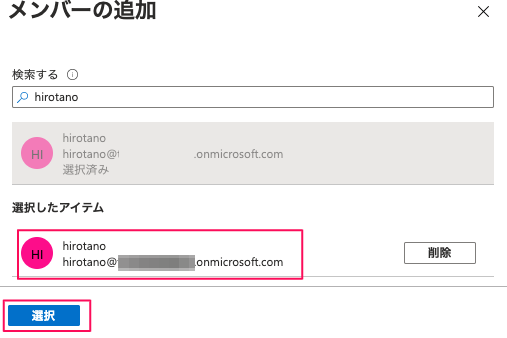
グループにユーザが登録されました。
エンタープライズアプリケーションの追加
Azure ADで、エンタープライズアプリケーションとして、Fortigate SSL-VPNを追加します。
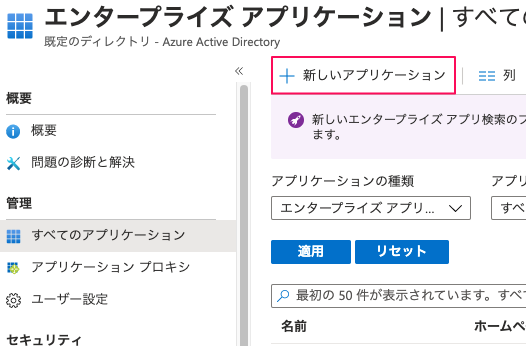
管理よりエンタープライズアプリケーションをクリックします。
新しいアプリケーションをクリックします。
検索フォームに Fortigateと入力し、Fortigate SSL-VPNを選択します。
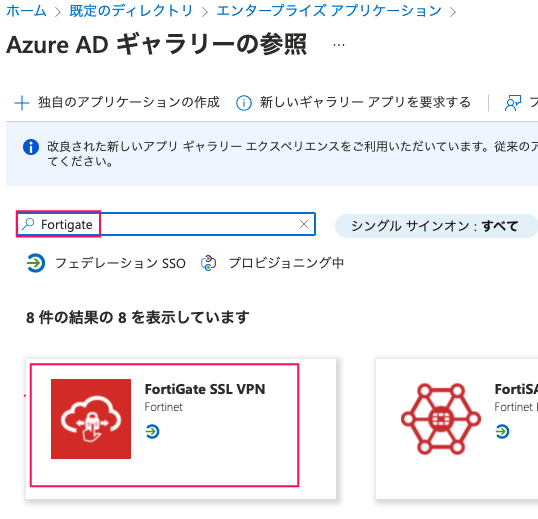
以下の画面となるので、作成をクリックします。
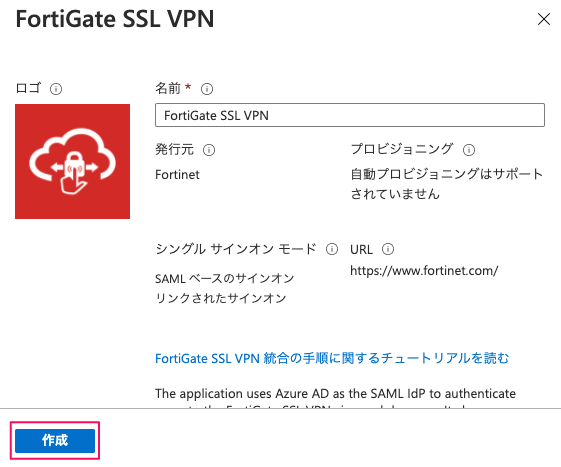
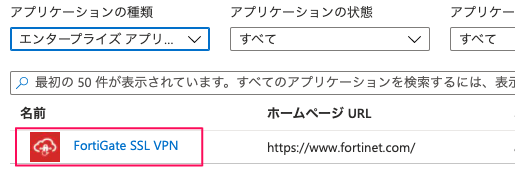
以下のように登録されます。名前をクリックし、アプリケーションの設定をします。
基本的なSAML構成の設定
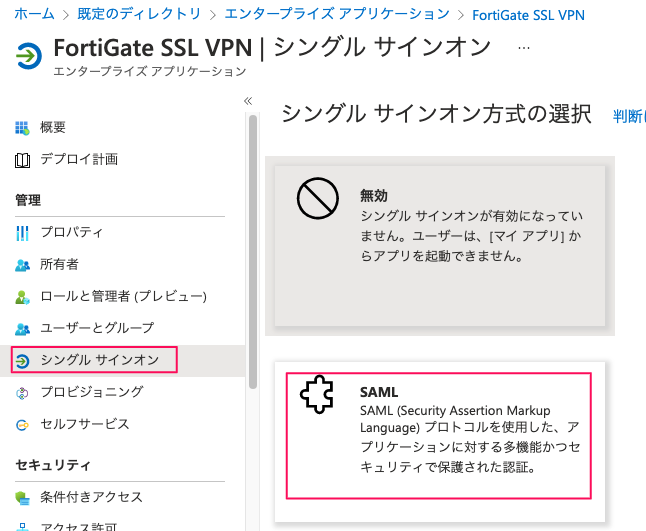
シングルサインオンをクリックし、SAMLを選択します。
以下の画面となるため、基本的なSAML構成で編集をクリックします。
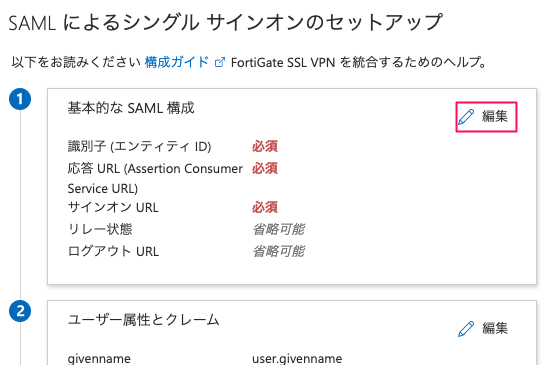
以下を参考に、値を設定します。
- 識別子 (エンティティ ID) :https://[FQDN]/remote/saml/metadata
- 応答URL :https://[FQDN]/remote/saml/login
- サインオンURL :https://[FQDN]/remote/login
- ログアウトURL :https://[FQDN]/remote/saml/logout
今回の構成では、FortigateのFQDNとして、175.41.203.97 を設定します。設定後、保存をクリックします。

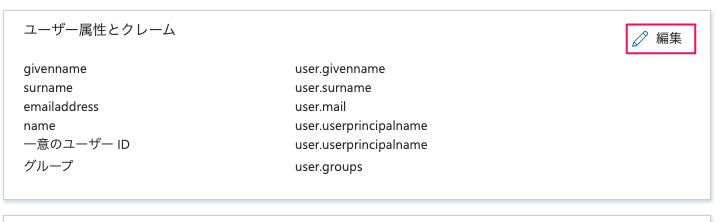
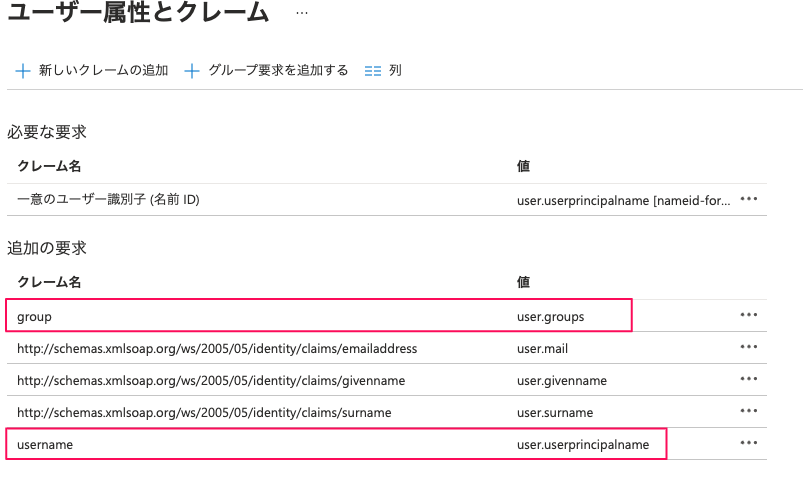
ユーザ属性
つぎにユーザー属性として、usernameとgroupを作成します。ユーザー属性とクレームより編集をクリックします。
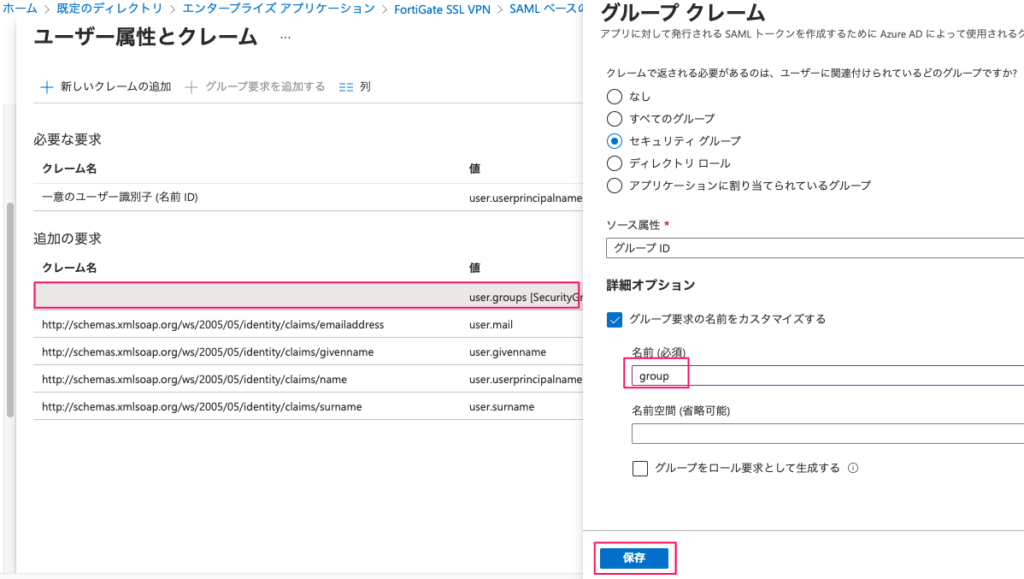
値 user.groupsの名前をgroupとし保存します。
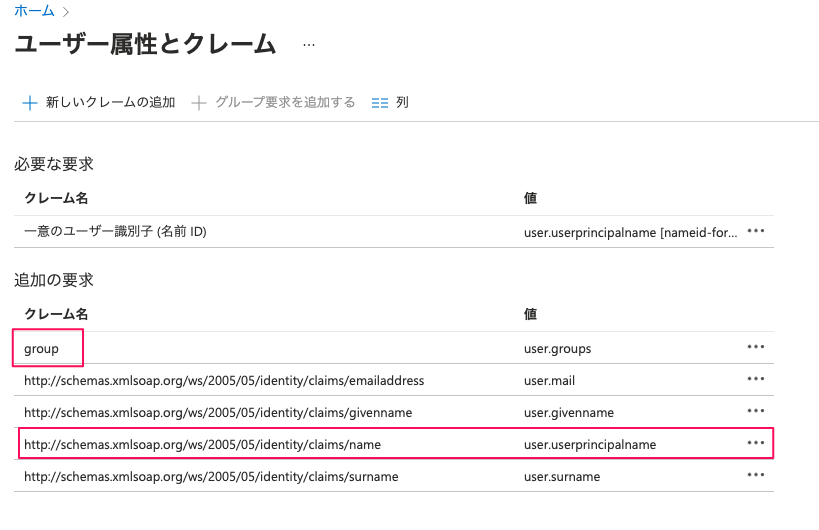
user,groupsの名前がgroupに変更されています。次に、user.userprincipalnameの名前をusernameに変更します。該当リストをクリックします。
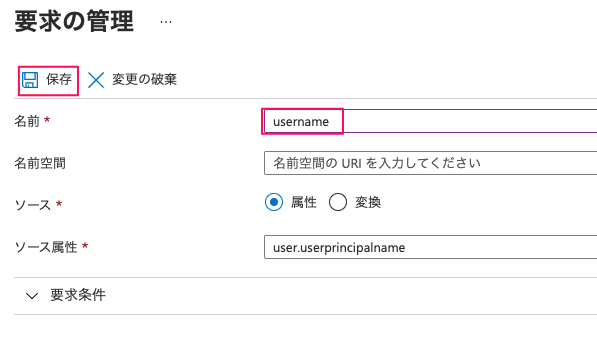
名前をusernameに変更し、名前空間の値は削除して、保存をクリックします。
username とgroupが作成されたことを確認します。他の属性は使用しませんので、そのまま残しても、削除してもどちらでも問題ありません。
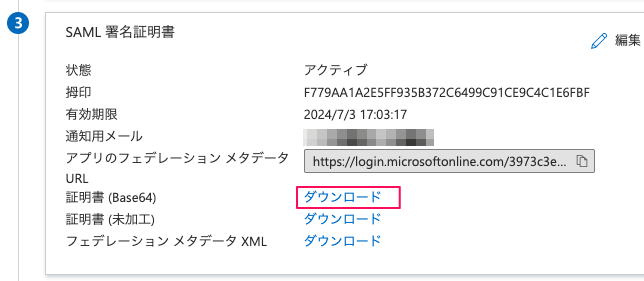
Base64証明書のダウンロード
IdP(AzureAD)とSP(Fortigate)間の信頼関係を結ぶための証明書をダウンロードします。SAML 署名証明書から、証明書 (Base64)をダウンロードします。
FortiGate SSL VPN のセットアップ用URLの設定
Fortigateへ設定するIdP(AzureAD)用の以下3つのURLをコピーし、保存しておきます。
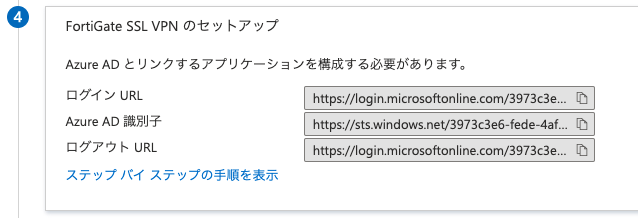
- ログインURL:https://login.microsoftonline.com/3973c3e6-fede-4afa-a089-0dfba5f9852b/saml2
- AzureAD識別子:https://sts.windows.net/3973c3e6-fede-4afa-a089-0dfba5f9852b/
- ログアウトURL:https://login.microsoftonline.com/3973c3e6-fede-4afa-a089-0dfba5f9852b/saml2
エンタープライズアプリケーションへのユーザの割り当て
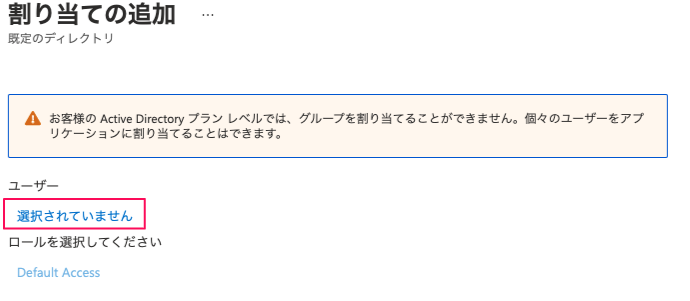
Fortigate SSL-VPNアプリケーションを使用するユーザ/グループを登録します。ユーザとグループより、ユーザまたはグループの追加をクリックします。
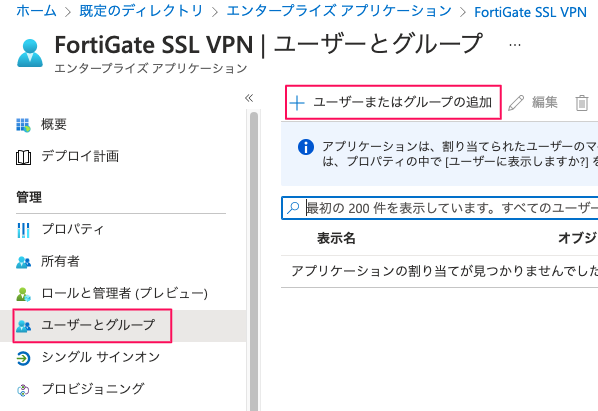
ユーザの選択されていませんをクリックします。
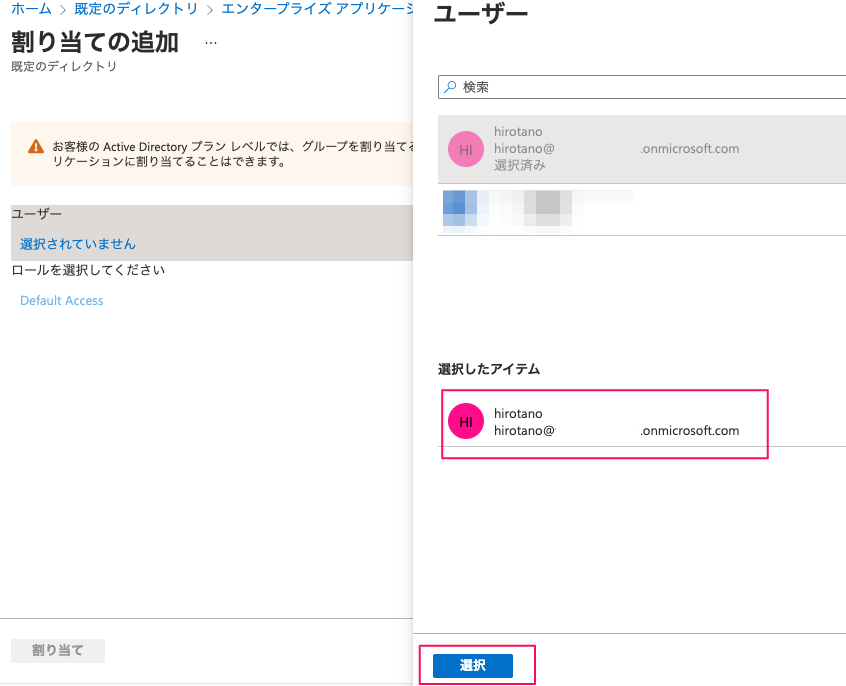
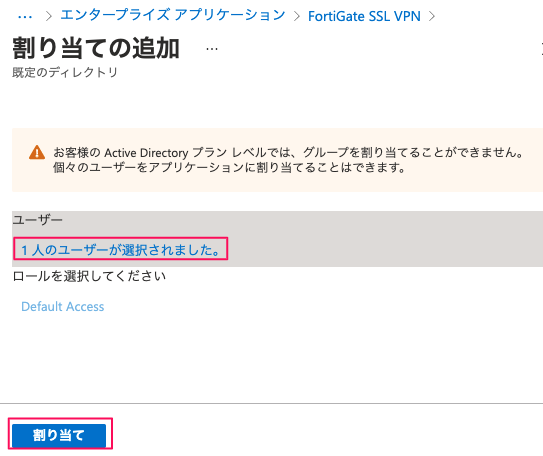
ユーザ hirotano を選択し、割り当てを実行します。
割り当てをクリックします。
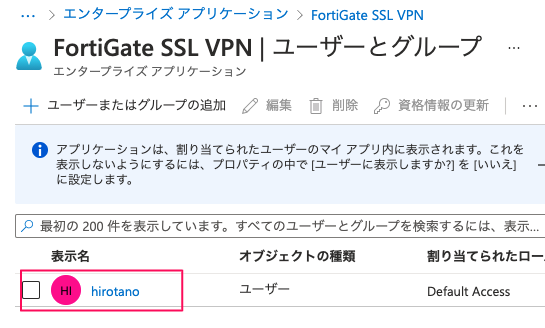
ユーザhirotanoが追加されました。
SP(Fortigate)の設定
Base64証明書のインポート
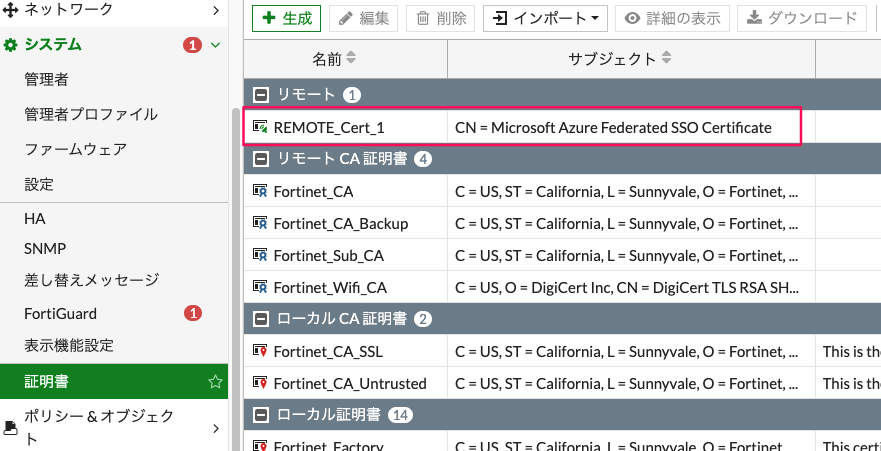
システム >> 証明書 よりインポートからリモートを選択し、ダウンロードしたBase64 証明書をアップロードします。デフォルトでは、REMOTE_Cert_1という名前で登録されます。
IdPサーバの登録
CLIで以下URLを参考に設定します。
>> 参考記事 : CLI Reference config user samlconfig user saml edit azure-idp set entity-id [SP 識別子] set single-sign-on-url [SP 応答URL] set single-logout-url [SP ログアウトURL] set idp-single-sign-on-url [IdP ログインURL] set idp-entity-id [IdP AzureAD識別子] set idp-single-logout-url [IdP ログアウトURL] set idp-cert [Base64 SAML 証明書名] set user-name username set group-name group end
今回の構成パラメータでは、以下の設定となります。
fortigate # config user saml
fortigate (saml) # edit azure-idp
new entry 'azure-idp' added
fortigate (azure-idp) # set entity-id https://175.41.203.97/remote/saml/metadata
fortigate (azure-idp) # set single-sign-on-url https://175.41.203.97/remote/saml/login
fortigate (azure-idp) # set single-logout-url https://175.41.203.97/remote/saml/logout
fortigate (azure-idp) # set idp-single-sign-on-url https://login.microsoftonline.com/3973c3e6-fede-4afa-a089-0dfba5f9852b/saml2
fortigate (azure-idp) # set idp-entity-id https://sts.windows.net/3973c3e6-fede-4afa-a089-0dfba5f9852b/
fortigate (azure-idp) # set idp-single-logout-url https://login.microsoftonline.com/3973c3e6-fede-4afa-a089-0dfba5f9852b/saml2
fortigate (azure-idp) # set idp-cert REMOTE_Cert_1
fortigate (azure-idp) # set user-name username
fortigate (azure-idp) # set group-name group
fortigate (azure-idp) # end
SSL-VPNグループの追加
SSL-VPN接続できるグループを定義します。設定は以下のURLを参考に設定します。
>> 参考記事 : CLI Reference config user groupfortigate # config user group fortigate (group) # edit ssl-vpn-group new entry 'ssl-vpn-group' added fortigate (ssl-vpn-group) # set member azure-idp fortigate (ssl-vpn-group) # config match fortigate (match) # edit 1 new entry '1' added fortigate (1) # set server-name azure-idp fortigate (1) # set group-name 7ed13d32-736c-4900-beb2-6a637d4baadb fortigate (1) # next fortigate (match) # end fortigate (ssl-vpn-group) # next fortigate (group) # end
AzureADの場合、SAMLトークンのグループ名はオブジェクトIDでレスポンスされます。AzureAD上で、グループを追加した際にコピーしたオブジェクトIDを設定します。
>> 参考記事 : SAML トークン要求のリファレンスSSL-VPNの有効化
VPN >> SSL-VPN設定より、SSL-VPN接続を受ける設定をします。
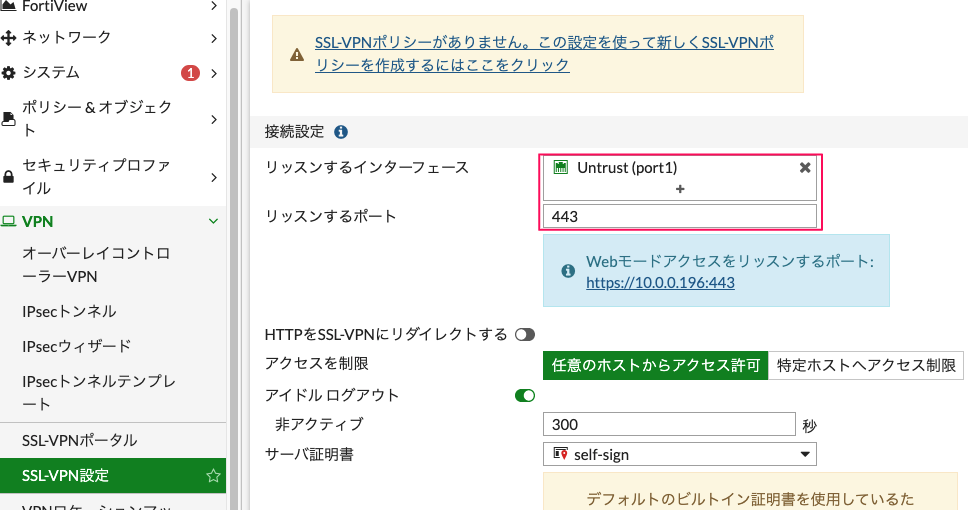
- リッスンするインタフェース:Port1 を指定
- リッスンするポート :443
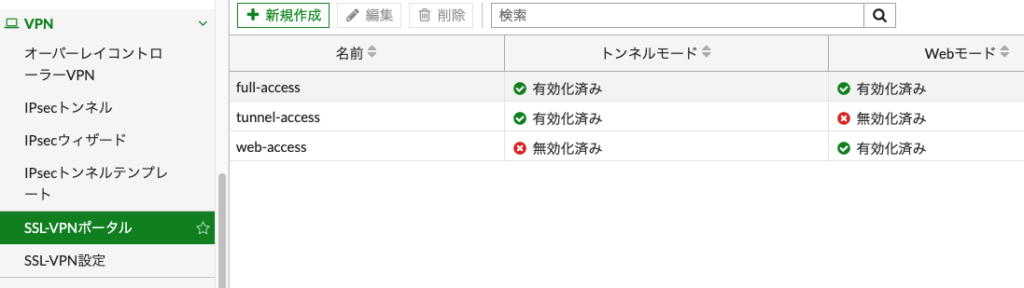
SSL-VPN ポータル
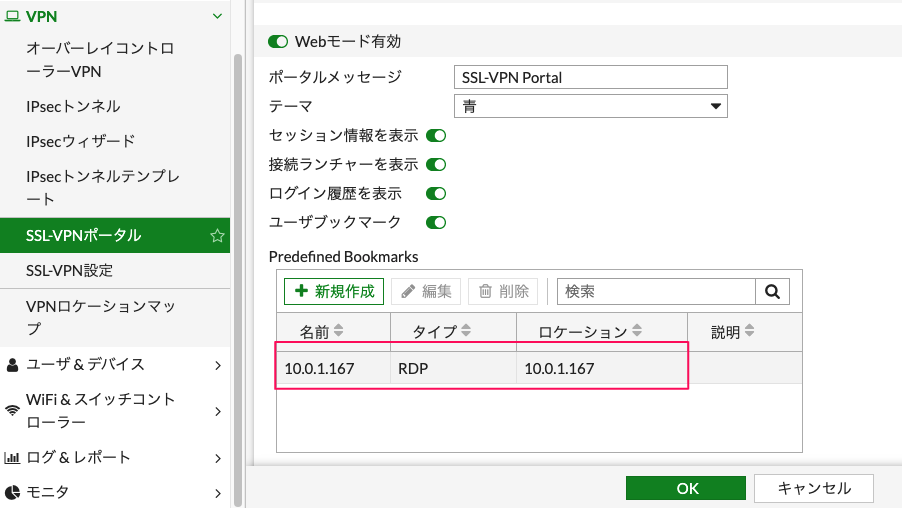
VPN >> SSL-VPNポータルよりポータル画面の設定をします。今回は、full-accessを選択します。
Webモードで、10.0.1.167のRDP接続用のブックマークを作成しておきます。
SSL-VPNポリシー設定
ポリシー&オブジェクト >> ファイアウォールポリシーで、SSL-VPN用のポリシーを作成します。
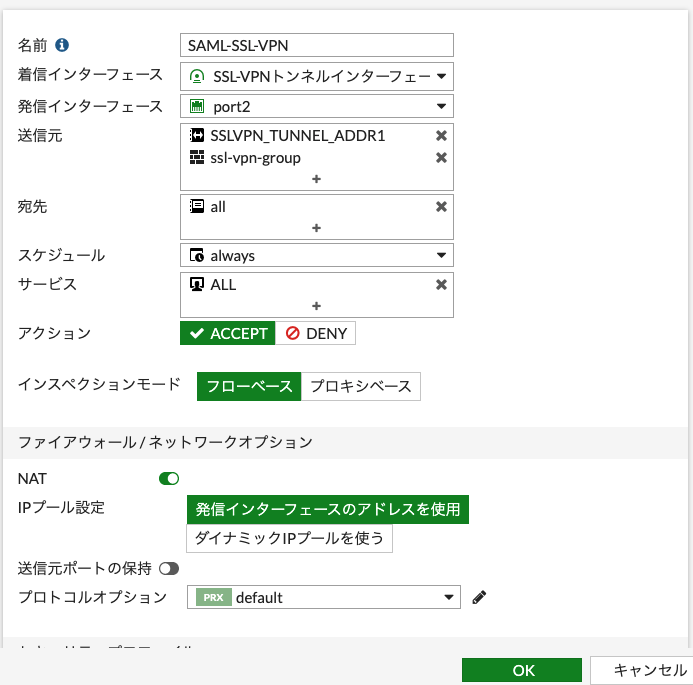
- 名前:任意。今回は、SAML-SSL-VPNとします。
- 着信インタフェース:SSL-VPNトンネルインタフェースを選択
- 発信インタフェース:LAN側であるport2を選択
- 送信元:プールアドレスであるSSLVPN_TUNNEL_ADDR1と接続許可されるユーザグループであるssl-vpn-groupを追加
- 宛先:all
- サービス:ALL
- 許可トラフィックのログ:すべてのセッション
動作確認
ブラウザで、https://175.41.203.97/ へアクセスします。

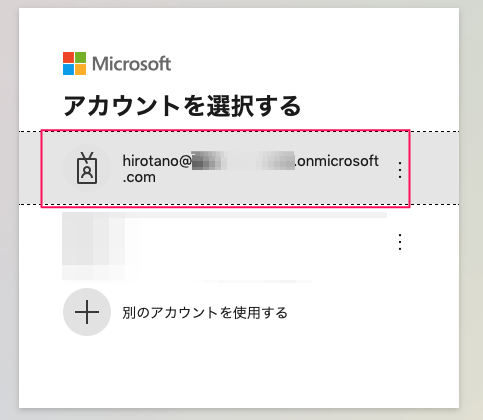
すると、自動的にAzureの認証画面が表示されます。過去にログインしたことがあるため、hirotanoユーザを選択します。
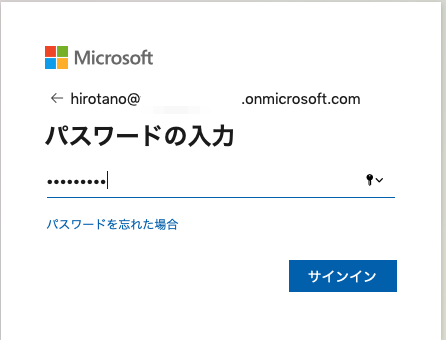
パスワードを入力し、サインインします。
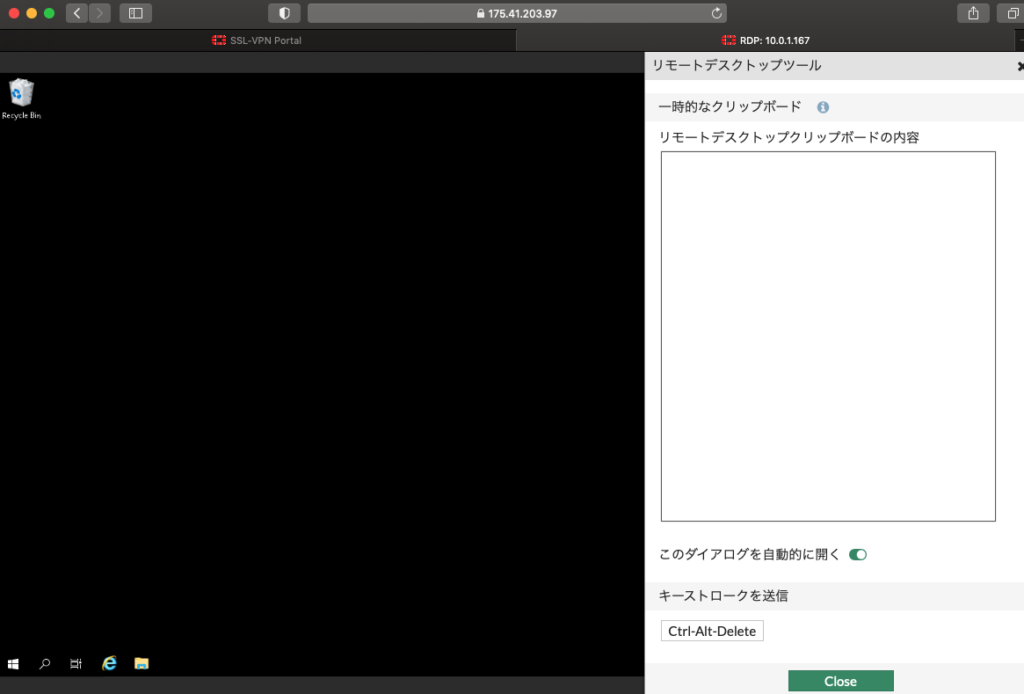
すると、自動的に、SSL-VPN portal へアクセスすることができます。
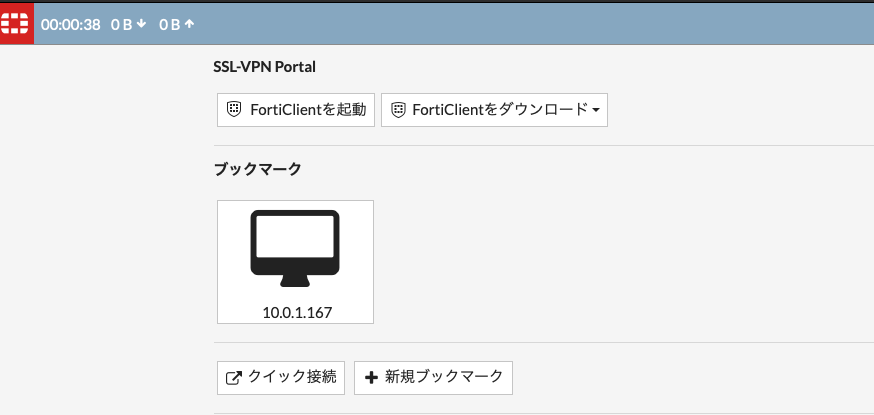
10.0.1.167へのRDP接続用ブックマークをクリックすると、ブラウザ経由でRDP接続されることが確認できます。
ログ&レポート >> 転送トラフィック より 通信ログを確認すると、送信元にユーザ名とIPアドレスが表示されます。

SAMLトークンの動作確認
一連の流れで、ブラウザの拡張機能(SAML tracer)より、SAMLのやりとりを確認します。
まず、端末からFortigateへアクセスします。
すると、FortigateからSAML AuthnRequestを受信します。以下、一部抜粋。
<samlp:AuthnRequest xmlns:samlp="urn:oasis:names:tc:SAML:2.0:protocol"
                    xmlns:saml="urn:oasis:names:tc:SAML:2.0:assertion"
                    ID="_5E389B38030F4058D17F8C36FD4051EA"
                    Version="2.0"
                    IssueInstant="2021-07-03T10:01:22Z"
                    Destination="https://login.microsoftonline.com/3973c3e6-fede-4afa-a089-0dfba5f9852b/saml2"
                    ForceAuthn="false"
                    IsPassive="false"
                    >
    <saml:Issuer>https://175.41.203.97/remote/saml/metadata</saml:Issuer>
    <samlp:NameIDPolicy Format="urn:oasis:names:tc:SAML:1.1:nameid-format:unspecified"
                        AllowCreate="true"
                        />
</samlp:AuthnRequest>
次に、IDとパスワードを入力します。
すると、AzureからSAMLResponse が送信されています。SAMLレスポンスの中には、usernameやgroupなどのユーザ属性が含まれます。以下、一部抜粋。
<samlp:Response xmlns:samlp="urn:oasis:names:tc:SAML:2.0:protocol"
                ID="_6d371c2d-9883-43ec-ac8d-736fd836430c"
                Version="2.0"
                IssueInstant="2021-07-03T10:07:32.284Z"
                Destination="https://175.41.203.97/remote/saml/login"
                InResponseTo="_1ED7E90C7FE3A9B86B5A97F9C3DA0E85"
                >
    <Issuer xmlns="urn:oasis:names:tc:SAML:2.0:assertion">https://sts.windows.net/3973c3e6-fede-4afa-a089-0dfba5f9852b/</Issuer>
    <Assertion xmlns="urn:oasis:names:tc:SAML:2.0:assertion"
               ID="_1f689ba9-4dfa-4bfa-85c1-b07c12bcf200"
               IssueInstant="2021-07-03T10:07:32.284Z"
               Version="2.0"
               >

        <Subject>
            <NameID Format="urn:oasis:names:tc:SAML:1.1:nameid-format:emailAddress">hirotano@XXXXXXXX.onmicrosoft.com</NameID>
            <SubjectConfirmation Method="urn:oasis:names:tc:SAML:2.0:cm:bearer">
                <SubjectConfirmationData InResponseTo="_1ED7E90C7FE3A9B86B5A97F9C3DA0E85"
                                         NotOnOrAfter="2021-07-03T11:07:32.206Z"
                                         Recipient="https://175.41.203.97/remote/saml/login"
                                         />
            </SubjectConfirmation>
        </Subject>

        <AttributeStatement>
            <Attribute Name="group">
                <AttributeValue>7ed13d32-736c-4900-beb2-6a637d4baadb</AttributeValue>
            </Attribute>
            <Attribute Name="username">
                <AttributeValue>hirotano@XXXXXXXXXX.onmicrosoft.com</AttributeValue>
            </Attribute>
        </AttributeStatement>

    </Assertion>
</samlp:Response>
端末からSSL-VPNポータルをログアウトした場合は、SAML ログアウト要求がFortigateから送信され、AzureADへ転送されます。
<samlp:LogoutRequest xmlns:samlp="urn:oasis:names:tc:SAML:2.0:protocol"
                     xmlns:saml="urn:oasis:names:tc:SAML:2.0:assertion"
                     ID="_3CD73597D7EB74354AE6F65983F9AB73"
                     Version="2.0"
                     IssueInstant="2021-07-03T10:18:08Z"
                     Destination="https://login.microsoftonline.com/3973c3e6-fede-4afa-a089-0dfba5f9852b/saml2"
                     >
    <saml:Issuer>https://175.41.203.97/remote/saml/metadata</saml:Issuer>
    <saml:NameID Format="urn:oasis:names:tc:SAML:1.1:nameid-format:emailAddress">hirotano@XXXXXXXX.onmicrosoft.com</saml:NameID>
    <samlp:SessionIndex>_0fb44fed-4399-4843-b17b-3a27a70ad900</samlp:SessionIndex>
</samlp:LogoutRequest>
AzureAD側でログアウトの処理ができれば、レスポンスを送信し、Fortigateへ転送されます。
<samlp:LogoutResponse xmlns:samlp="urn:oasis:names:tc:SAML:2.0:protocol"
                      ID="_469d51af-957c-4862-90ea-33afdb9e8db5"
                      Version="2.0"
                      IssueInstant="2021-07-03T10:19:58.542Z"
                      Destination="https://175.41.203.97/remote/saml/logout"
                      InResponseTo="_3CD73597D7EB74354AE6F65983F9AB73"
                      >
    <Issuer xmlns="urn:oasis:names:tc:SAML:2.0:assertion">https://sts.windows.net/3973c3e6-fede-4afa-a089-0dfba5f9852b/</Issuer>
    <samlp:Status>
        <samlp:StatusCode Value="urn:oasis:names:tc:SAML:2.0:status:Success" />
    </samlp:Status>
</samlp:LogoutResponse>参考URL
>> 参考記事 : チュートリアル:Azure Active Directory シングル サインオン (SSO) と FortiGate SSL VPN の統合

コメント